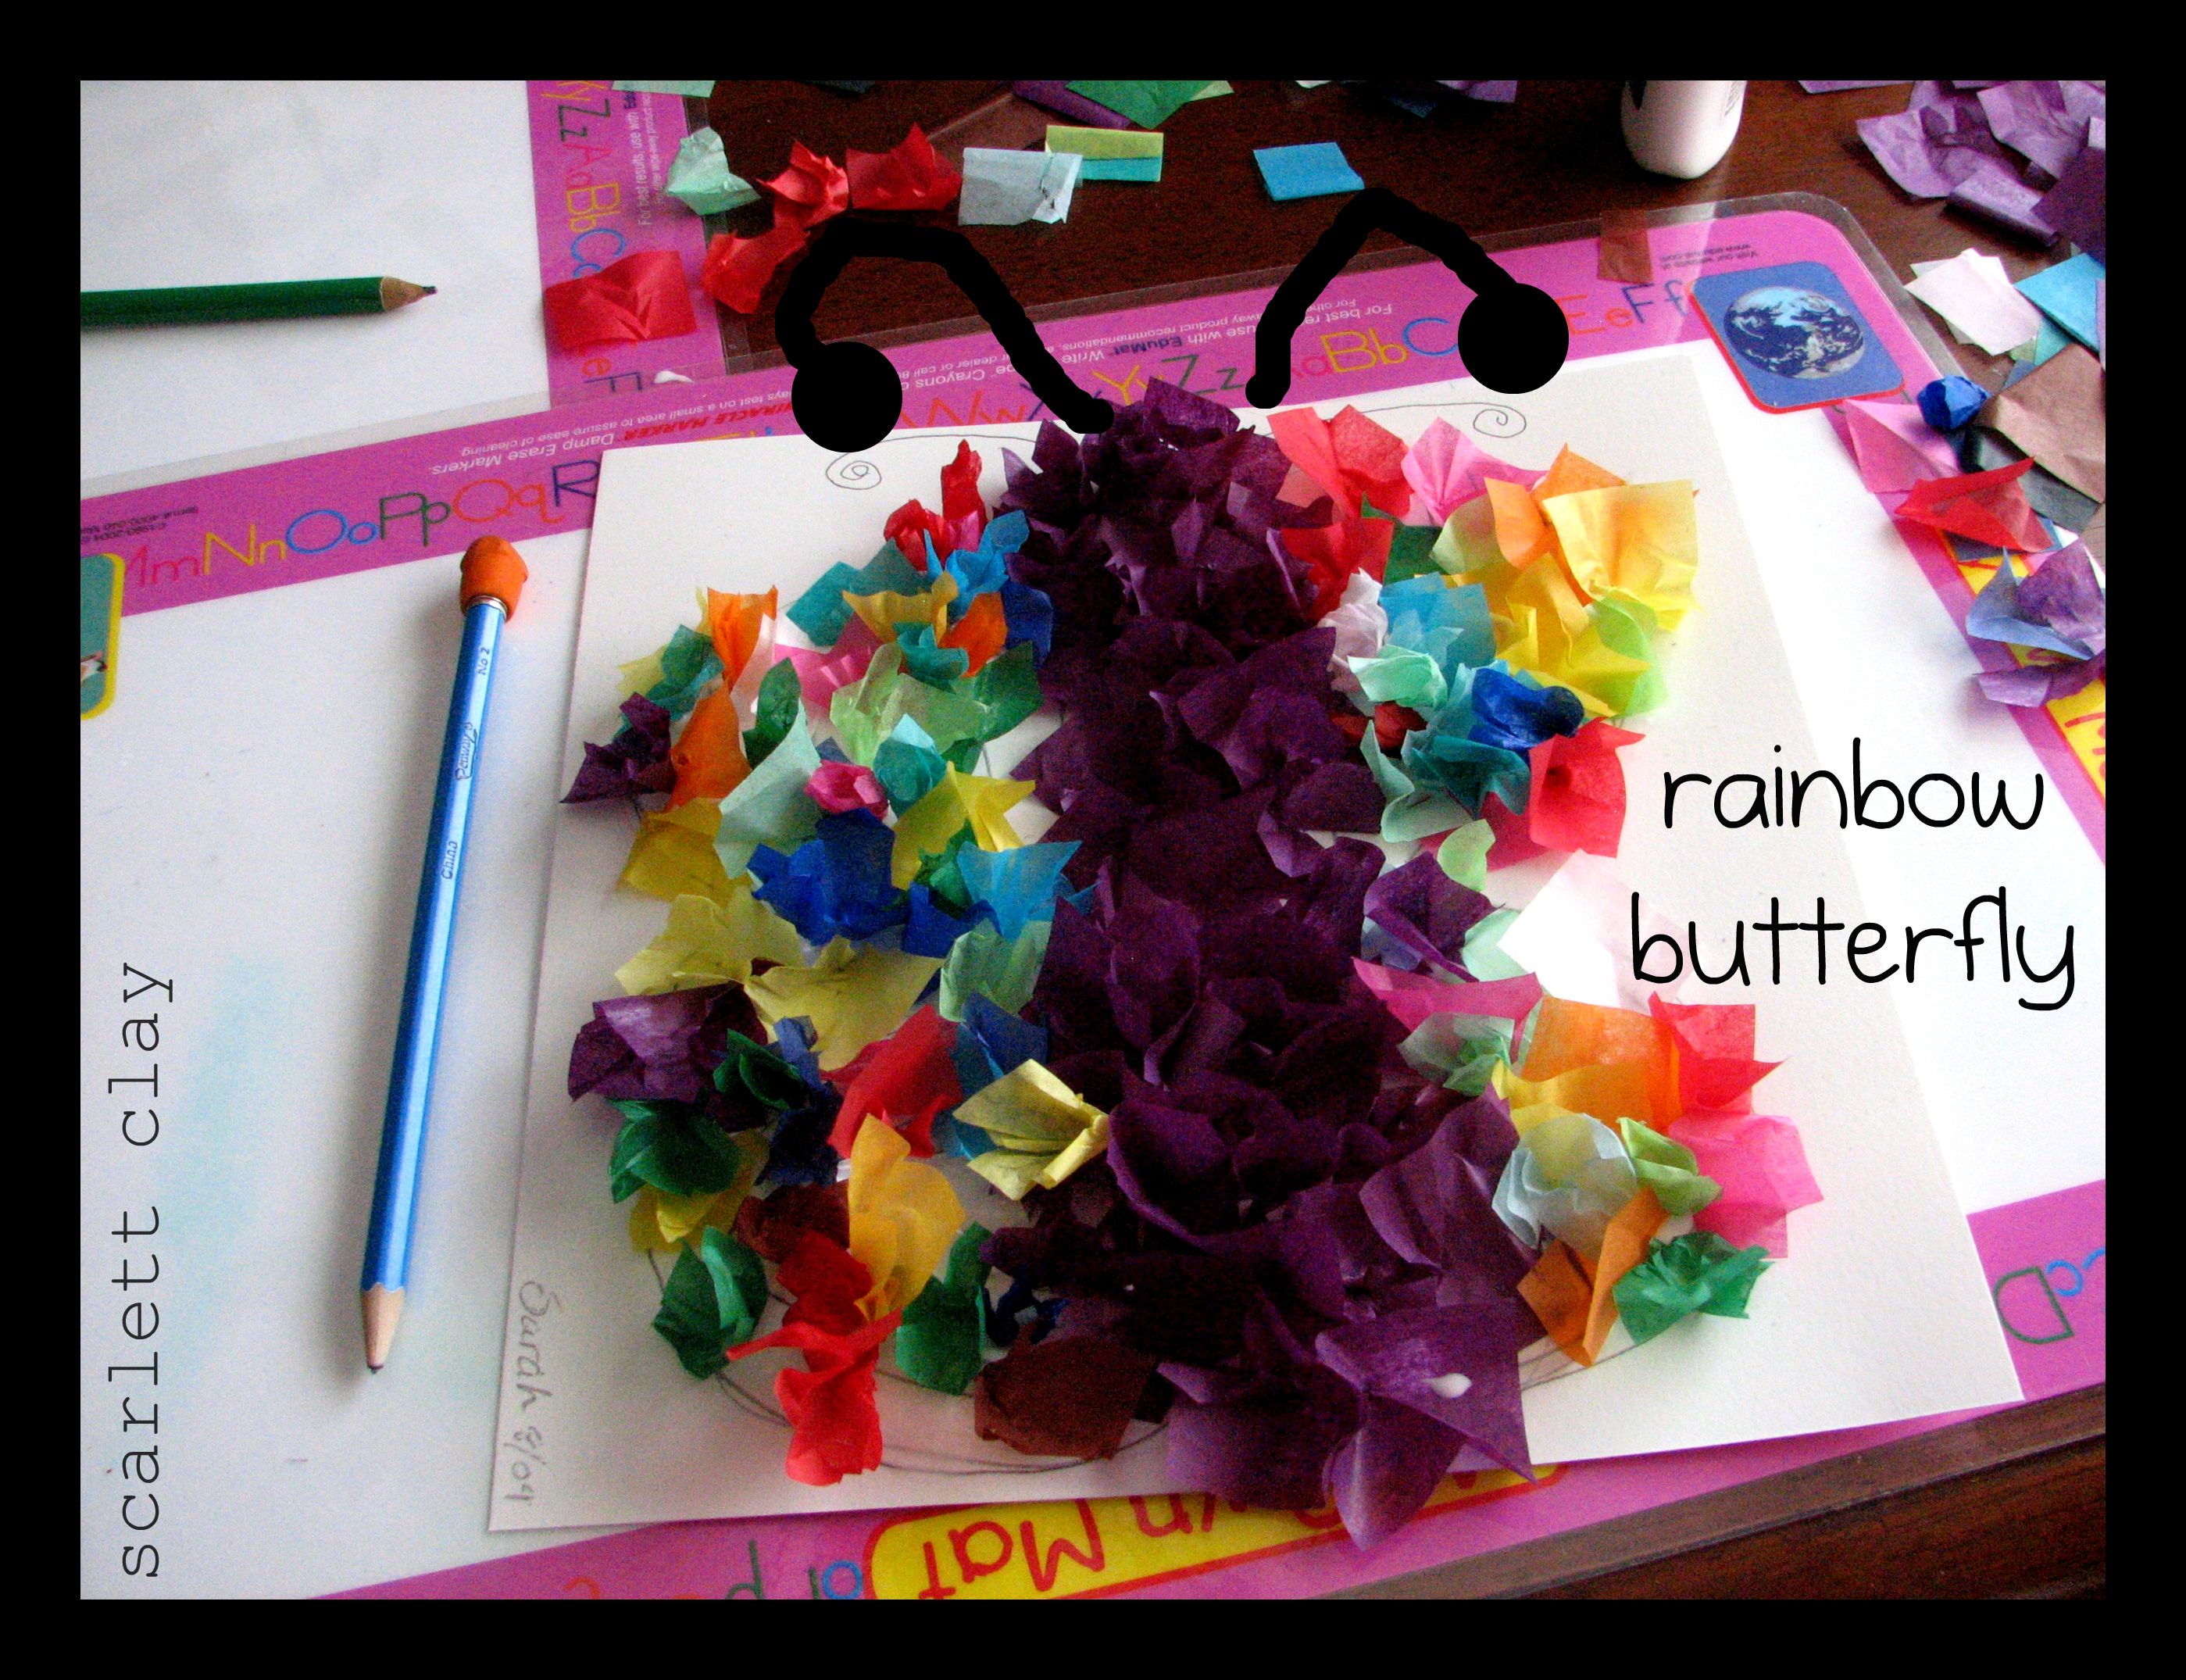
This is an easy craft for kids that I remember from my childhood.
You only need 6 things: Sturdy paper for base, colored tissue, scissors, glue, paint brush, and pencil.
Step #1-Have your young artists draw a simple design on the sturdy paper in pencil.

These two artists decided on butterflies. The details are not necessary since they won’t show up much in the end.

Step #2-Take colored tissue paper and cut it up into squares.


Step #3-Start with one small section at a time and, using a sponge brush, spread a thick layer of glue over the area.

Step#4-Taking one square at a time, wrap tissue onto the end of a pencil with your fingers. It’s best to center the tissue square.

Step #5-Gently press the tip of your pencil down onto the glue covered area and lift up. The tissue should remain “standing” on your paper base. Continue to fill in your design, placing the tissue close together so there are no bare spots showing.


As with all simple crafts like this,the possibilities are endless. You could fill in certain sections of your designs in with various sizes of tissue squares for an interesting effect. A more complex design could be achieved with much smaller squares. Using the tissue to fill in part of a drawing could be fun, like pink tissue for a ballerina’s skirt, or colored tissue for the hair of a person. Fall is just around the corner and this technique would make super-cute pumpkins! Have fun!

Great idea!!