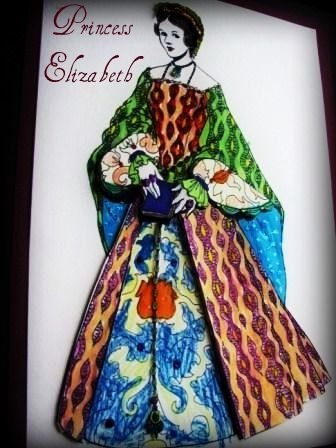
I’ve unknowingly used this paper craft technique before but did not know it had a name and a history. It’s called paper tole, or 3-D decoupage, and it was fashionable during the 18th century. I recently stumbled upon an exquisite paper tole creation by artist Lonnie Bullington in Somerset Studio’s special publication, Marie. (scroll down to 4th photo)
With day after day of 100 degree plus heat here in central Texas I decided to simplify this technique into a project that would keep my young artist’s hands busy for an afternoon.
First I had my young artist choose a picture from one of her favorite coloring books.

After she chose a picture, we made 2 identical copies onto white card-stock. The art form of paper tole takes a 2-D picture and makes it int a 3-D object; you could have multiple copies to create varied elevations depending on how elaborate you wanted your project to be. For our purposes we kept it simple.

We discussed which parts of the drawing would look the best “raised up”. She colored in the first picture as nicely as she could, leaving some of the details and large portions uncolored. On the second image, she colored only those parts she left undone on the first one.
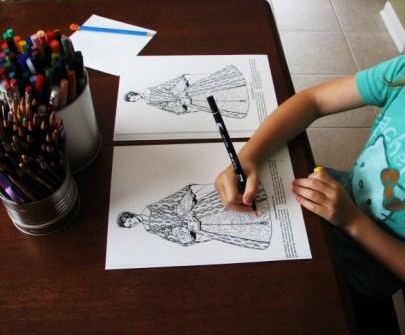

With the coloring completed, it was time for cutting. I had to assist with cutting the very small parts. For the picture to have a good 3-D effect it’s important to cut carefully and exactly.


Next, she adhered the 3-D sticky tape on the back of the cut-out portions and she placed them on the base image lining them up precisely.

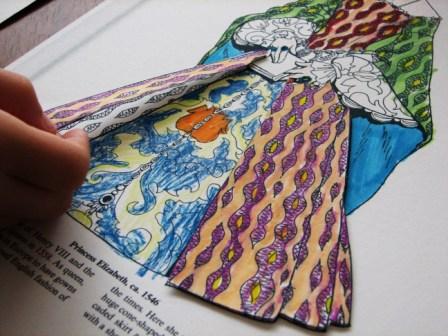
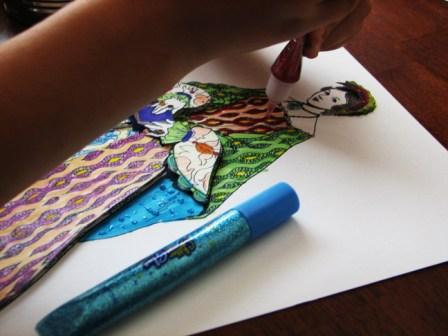
She continued this process until all the parts she wanted to stick up were done including the arms, book, crown, necklace and hanging medallion chain. For the arms we used 2 layers of sticky tape to raise them up even more than her skirt layers.
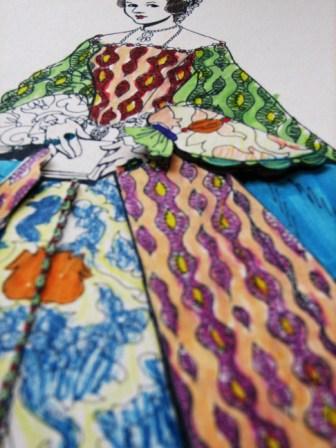


Of course, none of her projects are ever complete without some glitter glue somewhere! She added sparkle all over the picture to give it the ultimate royal look.

To add a finishing touch I cropped it down with the paper trimmer and matted it with 2 shades of purple. What a beautiful picture! My young artist was very proud of her work. In the past I’ve seen her incorporate different techniques on her own once she’s been led through it from start to finish. I’m hopeful that she’ll be able to “tole” on her own now, adding this to the repertoire of skills we’ve already learned. What’s more, Princess Elizabeth, in all her finery, now graces our entry way with colorful splendor!
